As the title suggests, I am starting a series on how to make the best breakfast ever: Eggs Benedict. This will be a four-part series, which I’ll post every Wednesday.
Eggs Benedict is such a comforting dish. It’s rich in flavours, and in textures. A bit greasy, a bit fatty, a bit very delicious. Basically, it’s perfect as a hangover cure, or on an easy Sunday morning (cue The Commodores singing Easy) or just whenever you want it. ‘Cause that’s how we roll, am I right?
Bonus: you’ll learn some neat new techniques along the way.
For a good reason, Eggs Benedict is a recipe that is quite close to my heart. It reminds me of my 6-month experience in London, when my friend and I would eat this whenever we had the chance. Meaning, everytime that we were staying in a hotel. Or in this adorably cute French lunchroom called Chez Ella on Brick Lane. If you’re ever in London, I strongly advice you to drop by and order either this dish, or one of the many other delicious dishes on the menu.
So of course, as someone with a strong passion for food, I just had to finally make Eggs Benedict myself. Which was actually a lot easier than I thought. There are three important elements to the recipe: English Muffins for the base, Hollandaise Sauce for the sauce (duh) and Poached Eggs for the topping. In the final part of the series, I will show you how to put it all together.
But first things first. English Muffins.
Let’s commence!
As with any bread you need yeast, which will help your bread to rise. In most recipes, you need to dissolve the yeast in lukewarm water. I just use warm tap water, as it is warm but not boiling. And yes, I just recently found out that this was way easier than letting boiled water cool to lukewarm. Silly me. Anyways, it is important to stir just once, because yeast is delicate and needs its personal time to work properly.
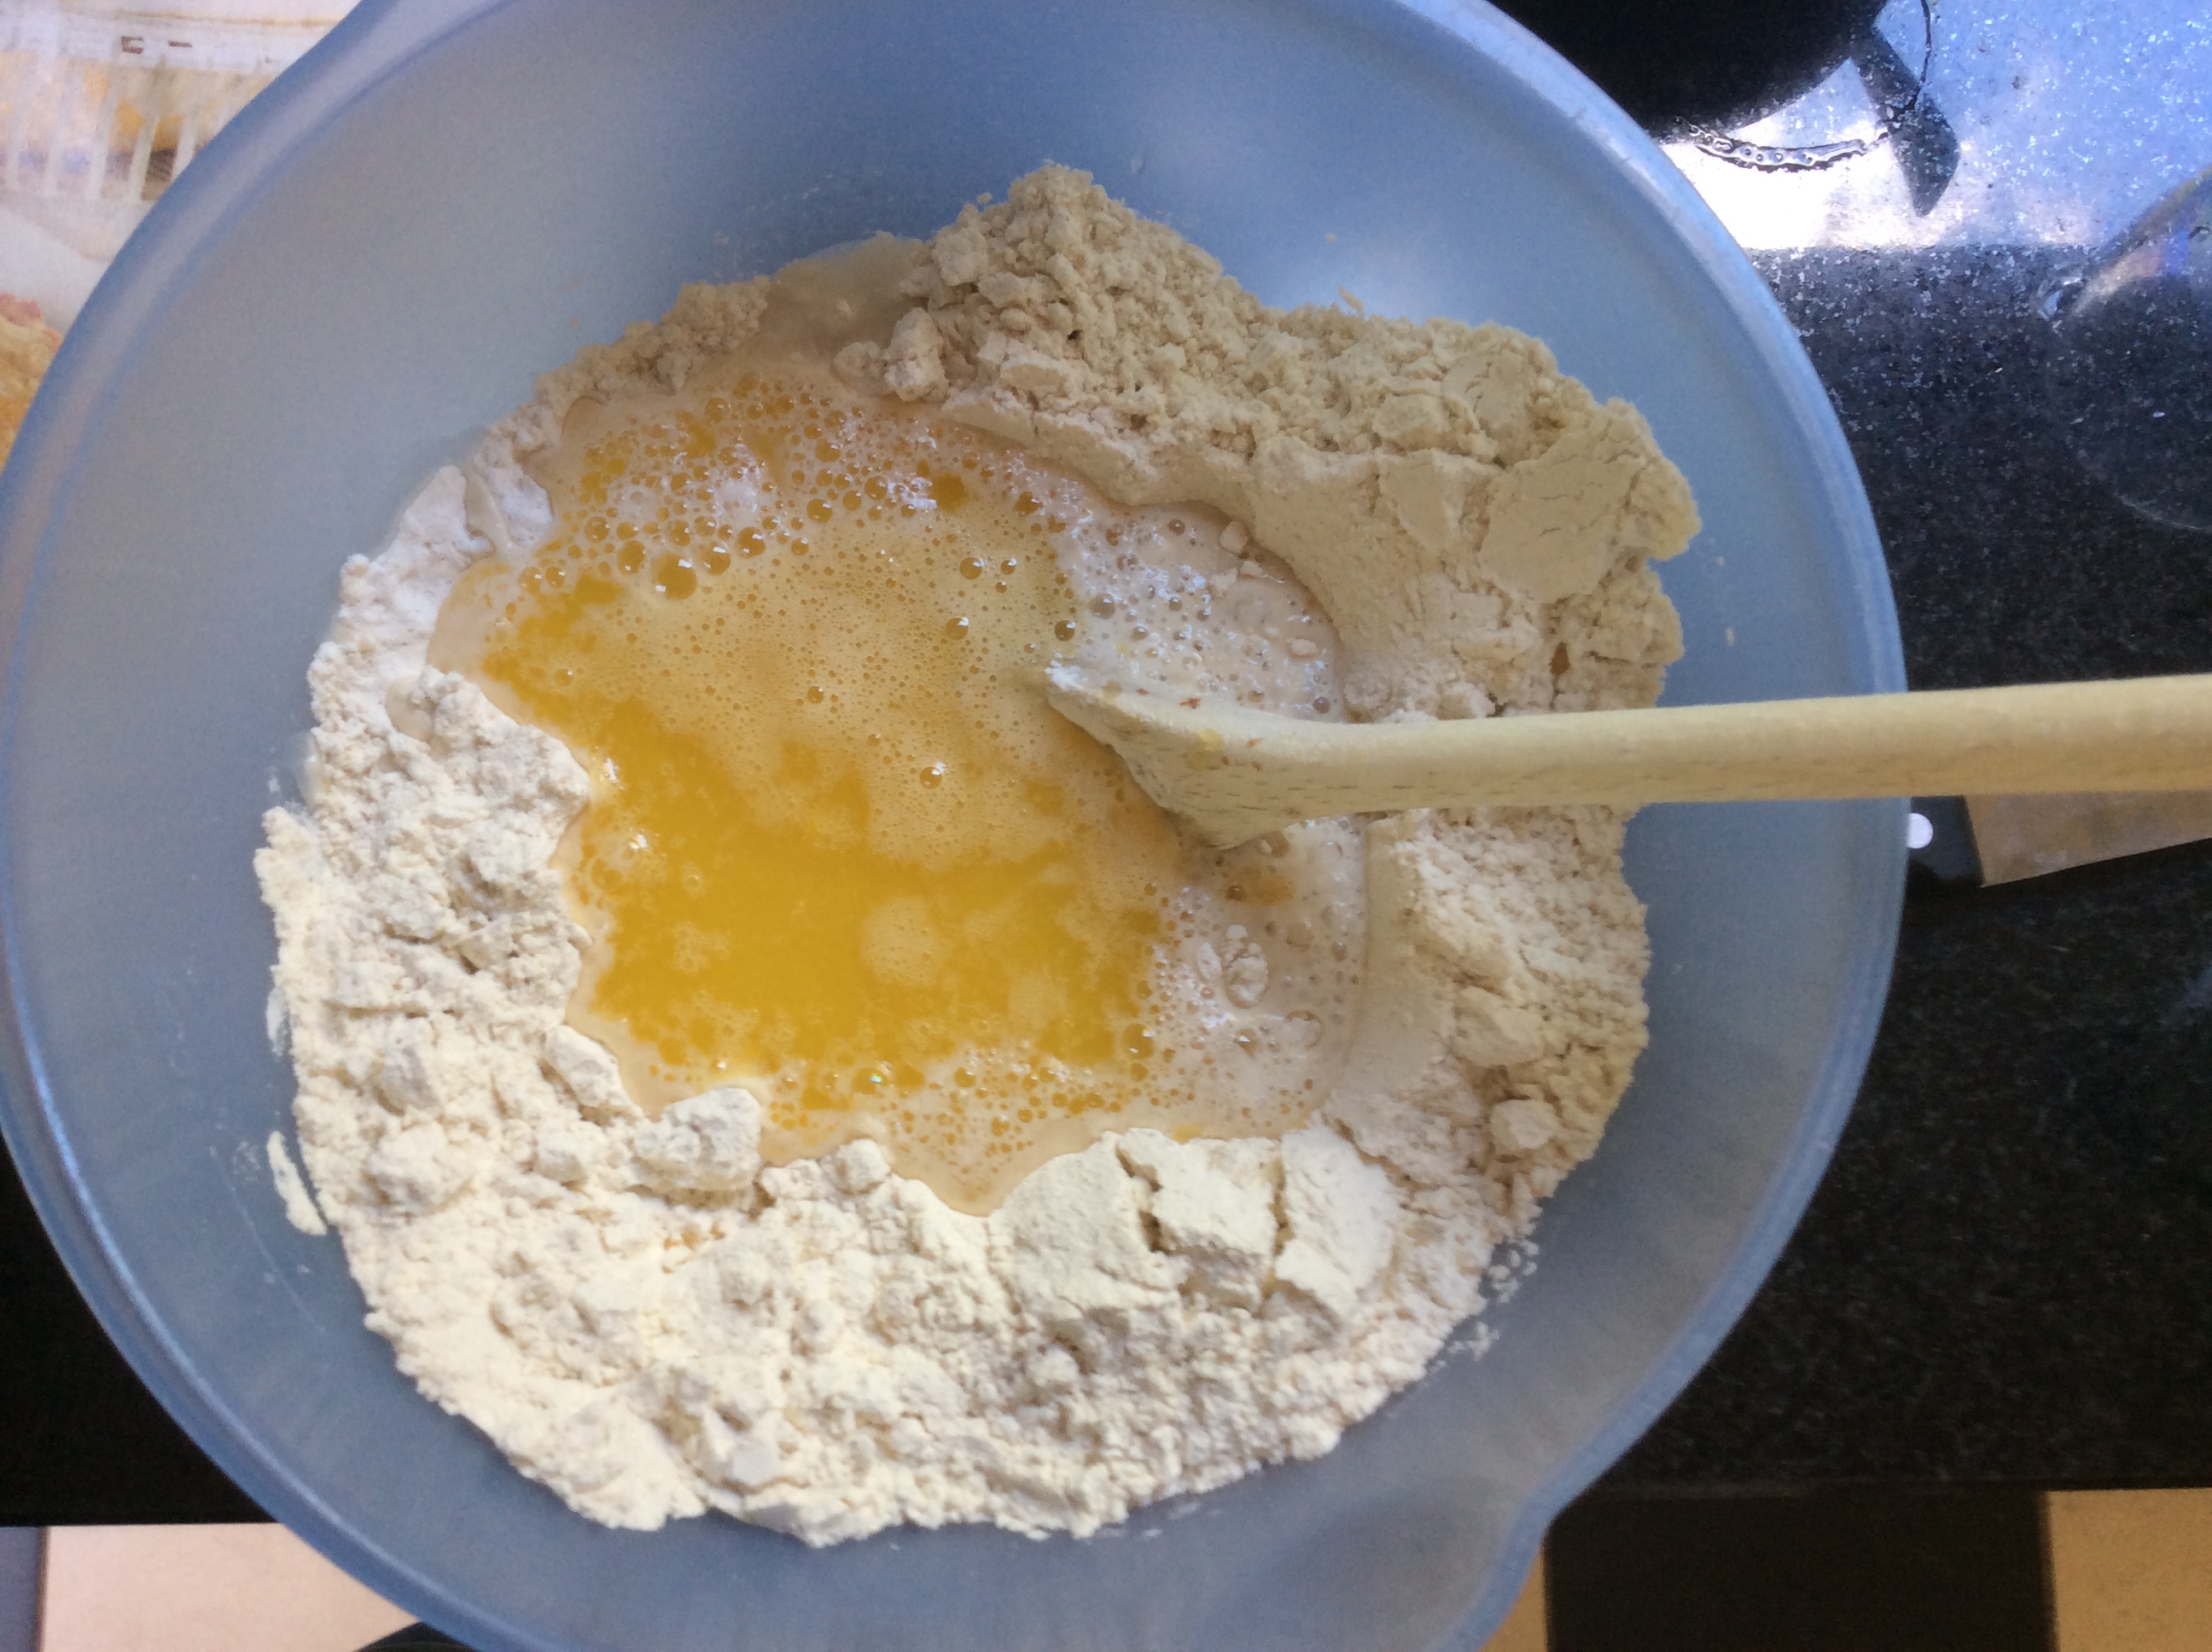
The yeast mixture and the melted butter goes in together. By gradually spooning in the flour, the yeast will slowly get to know the flour, which will benefit its effect. If you stir it all together at once, it just will not work as it should. So patience please. Also, never add salt and yeast together at once. Salt also diminishes the yeast’s effect. I told you, it is a delicate and demanding ingredient. Oh, and it’s best to use a wooden spoon, as this does not leave any taste remnants behind.
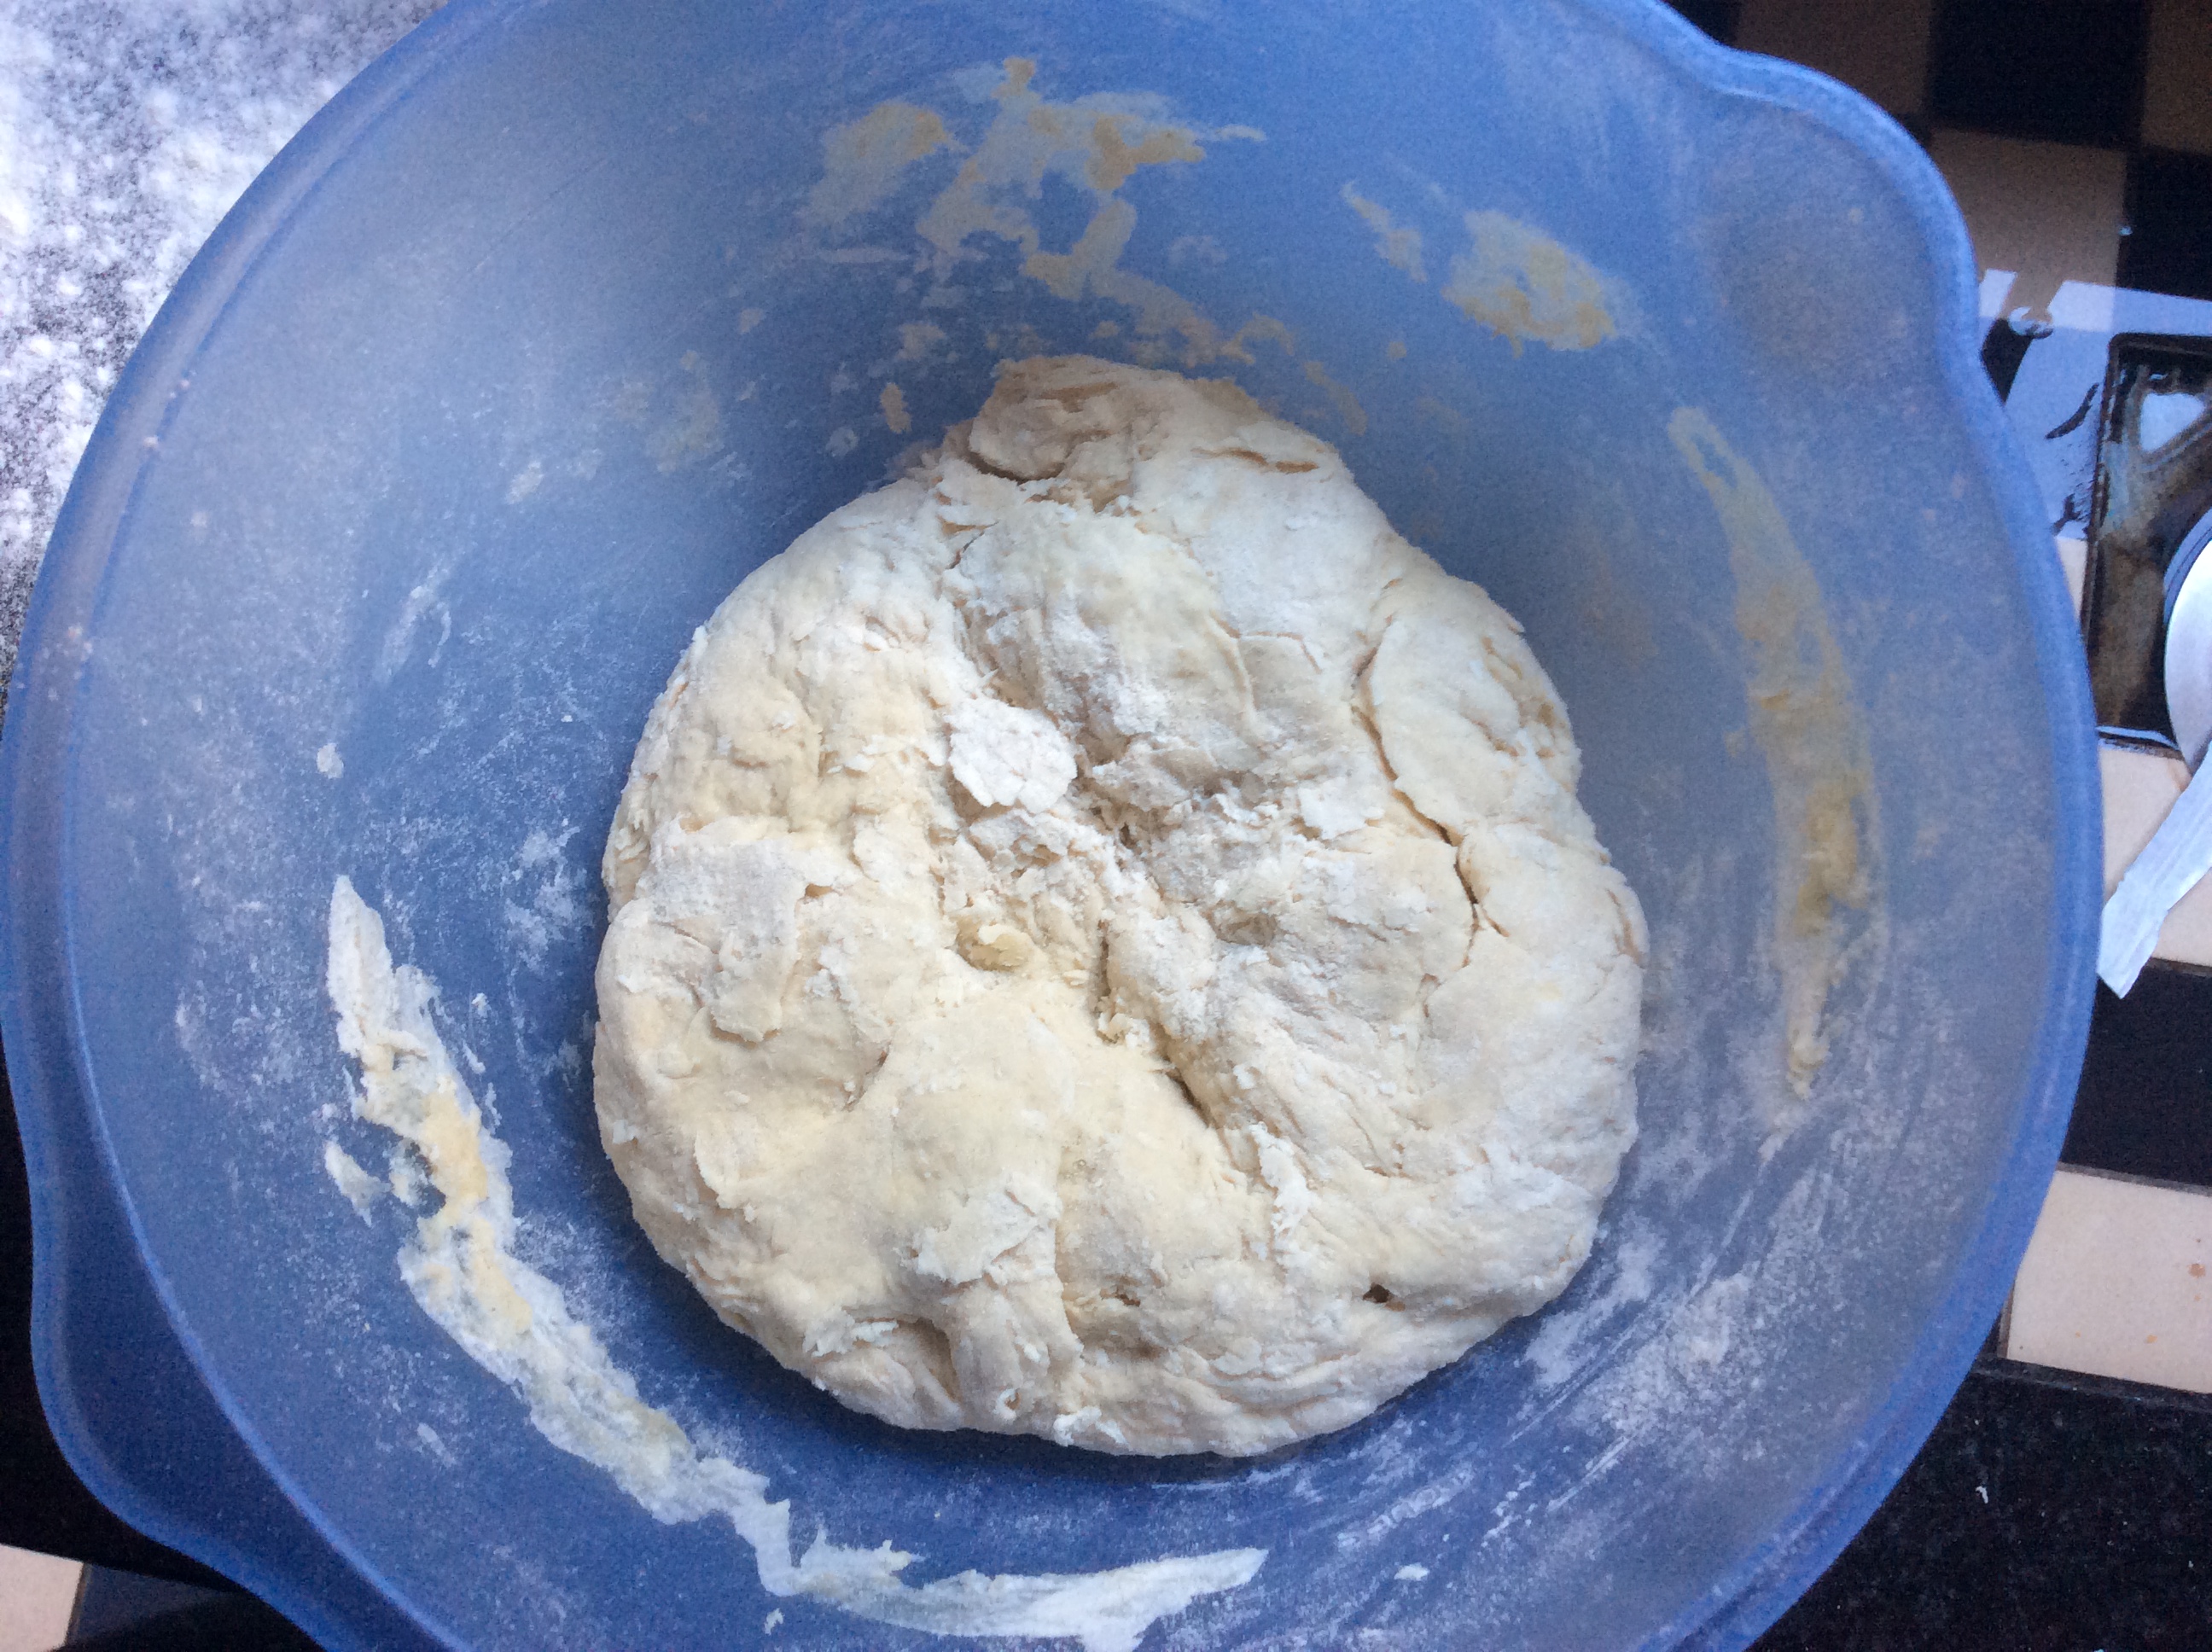
After stirring the mixture into a soft dough, knead it on a lightly floured surface. Be aware that you do not use too much flour, that will mess up the quantities in the dough. So just a slight dusty surface. Be sure to wash your hands for this part!
 Resulting from the 5 minutes of kneading, you should have an even and slightly stretchy dough, as seen on the picture above. Form it into a ball, and transfer to a greased bowl.
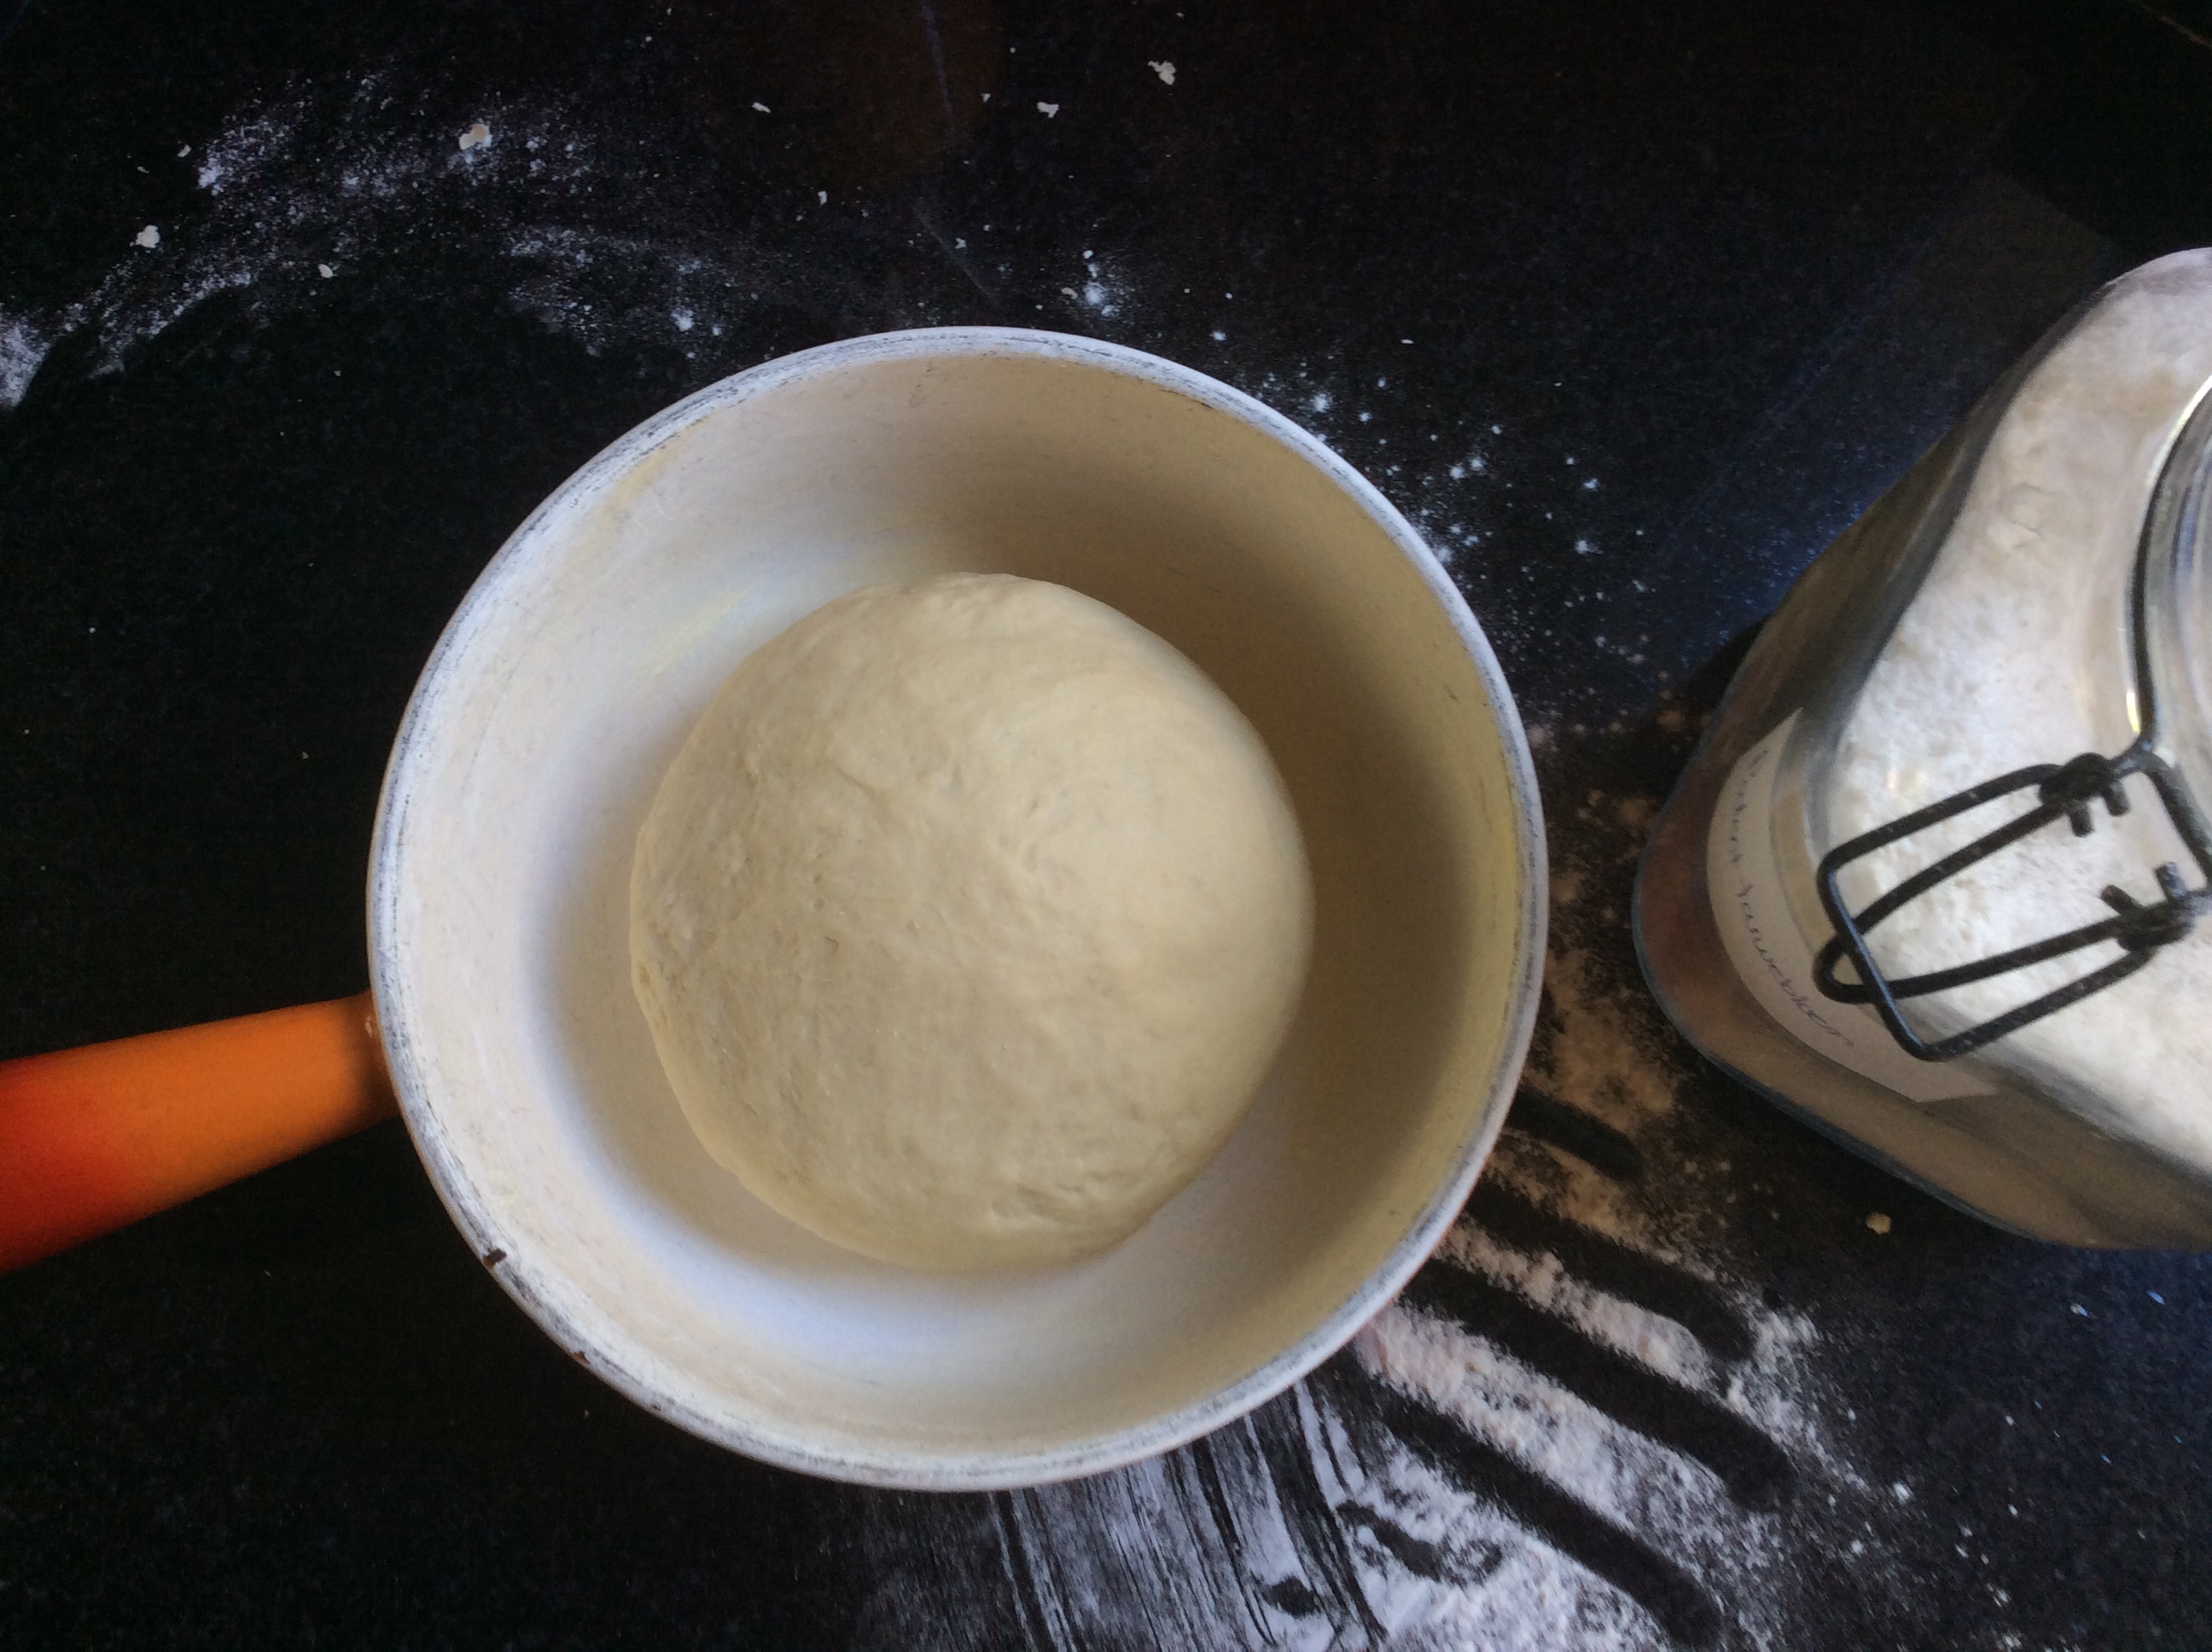
Prove for 1 hour until doubled in size…
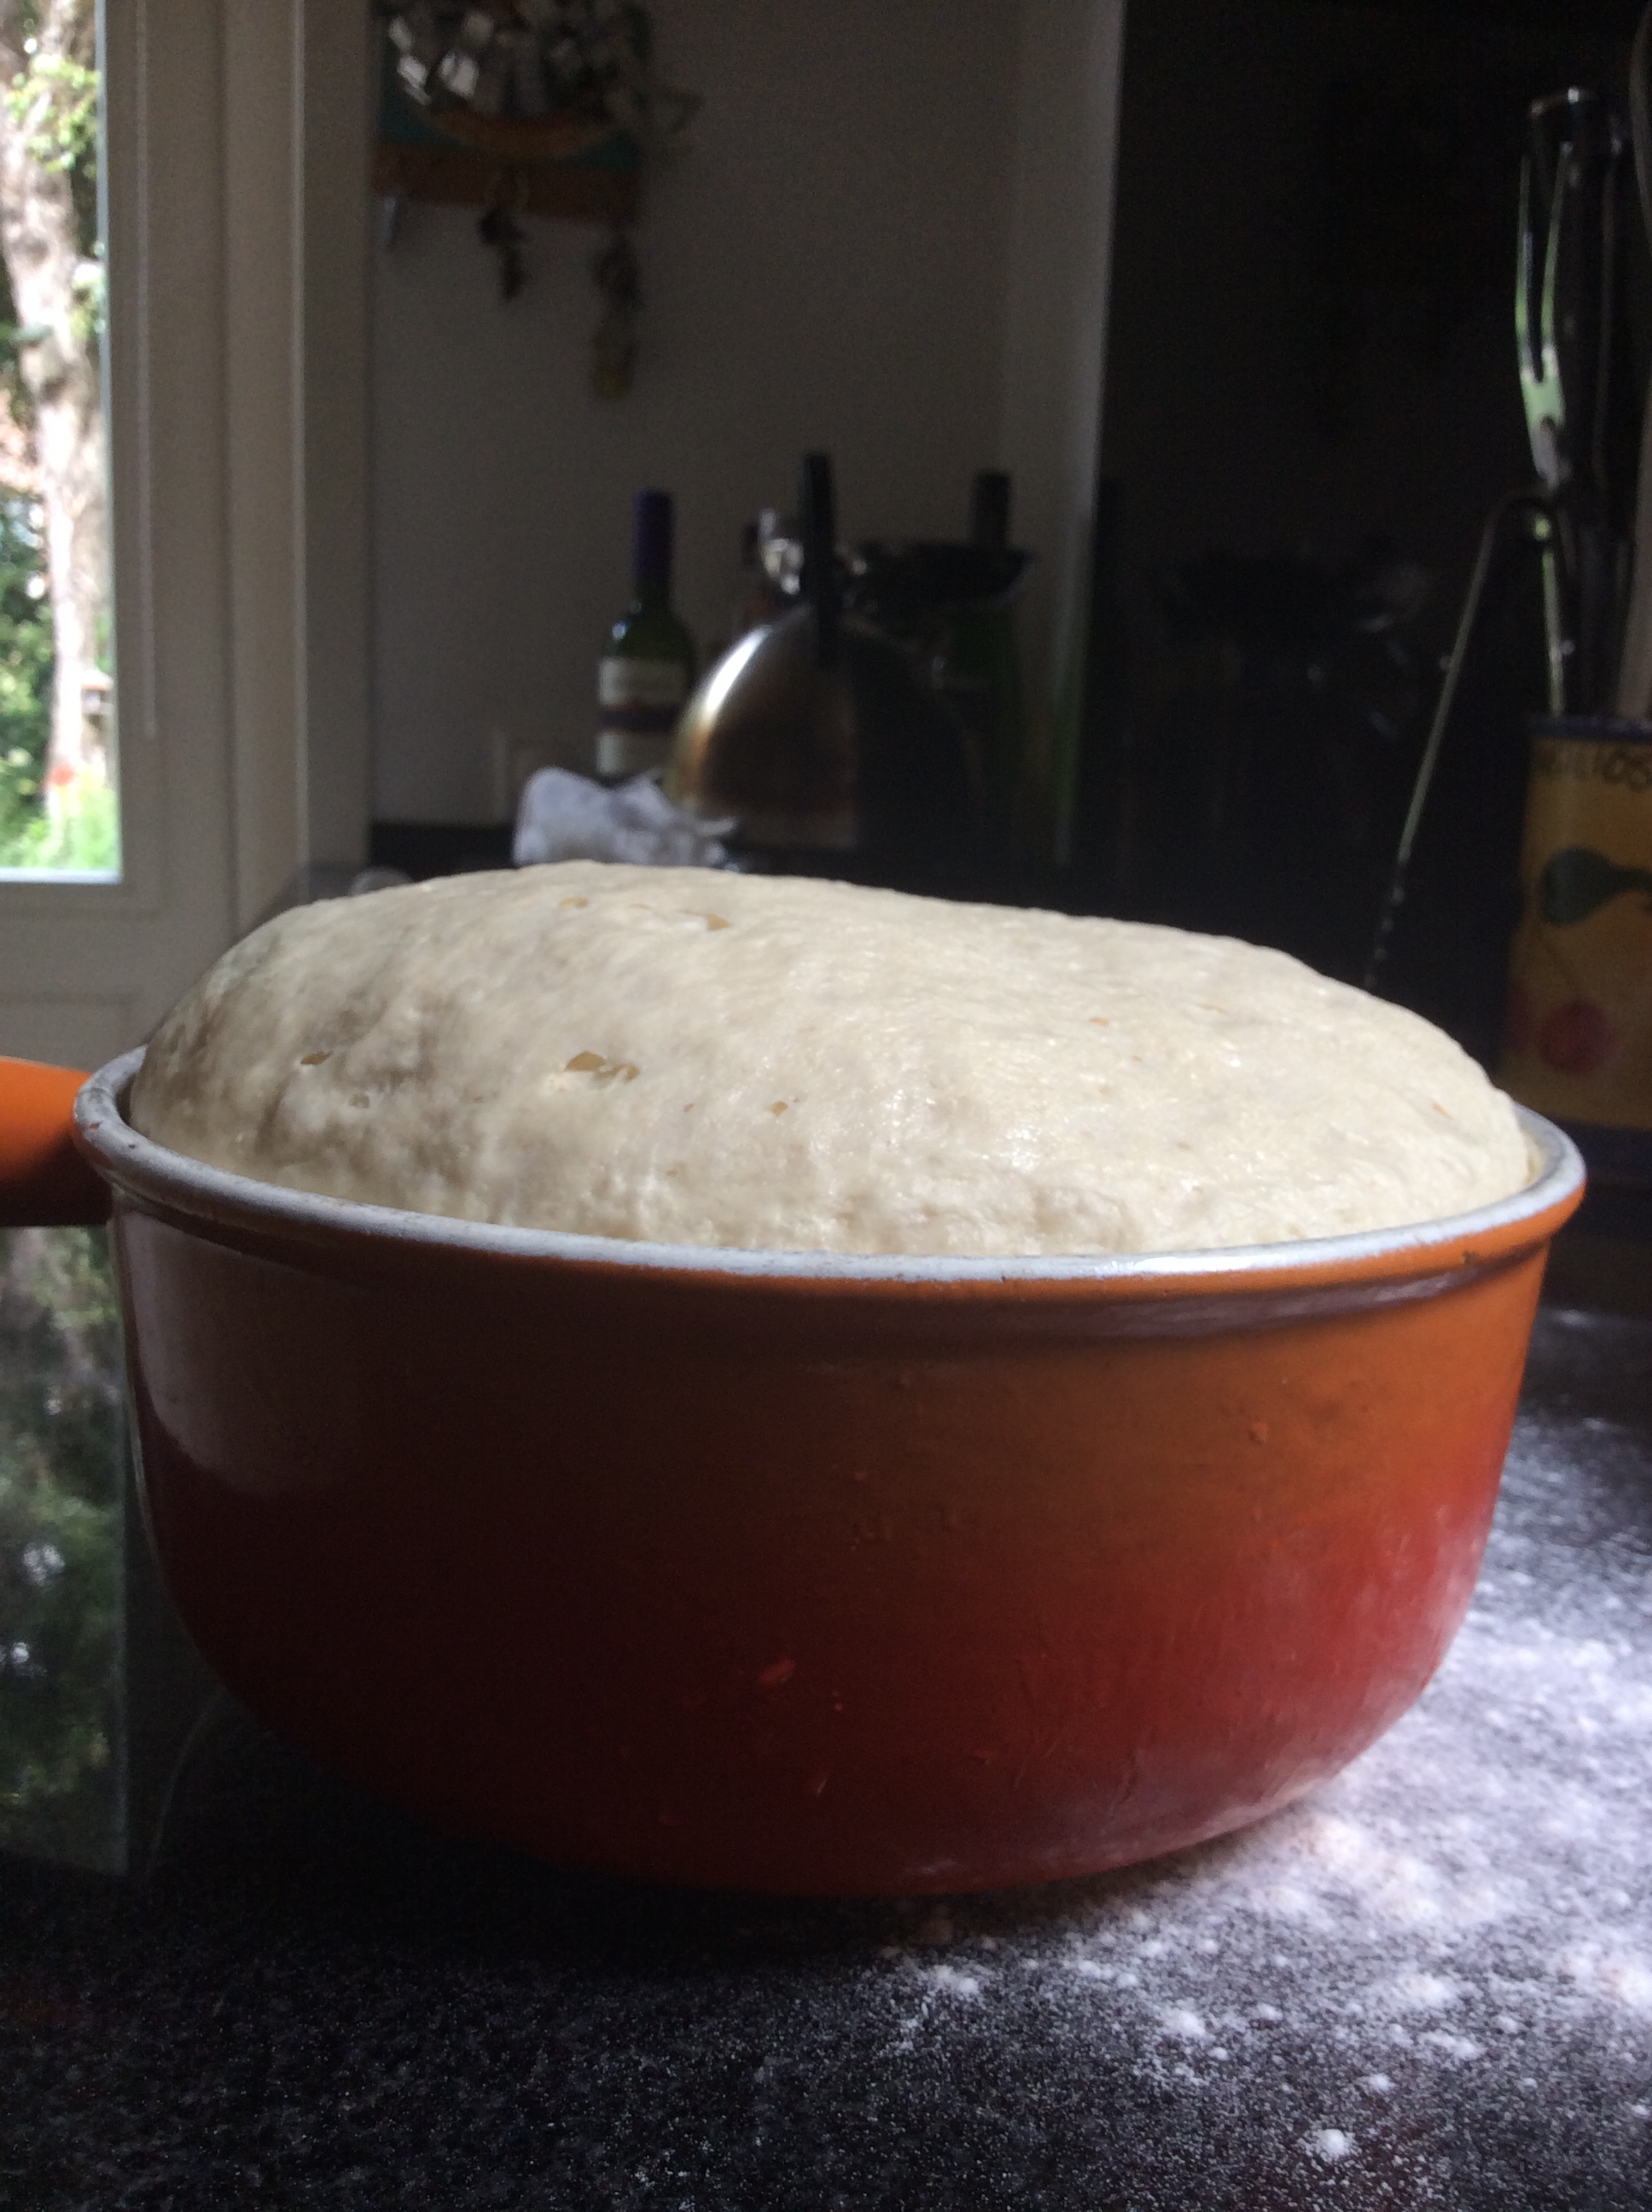
…as can be seen here! Look how pretty! You did that! Go you! Turn it over, lighlty knead for another minute or so and divide into 10 balls.
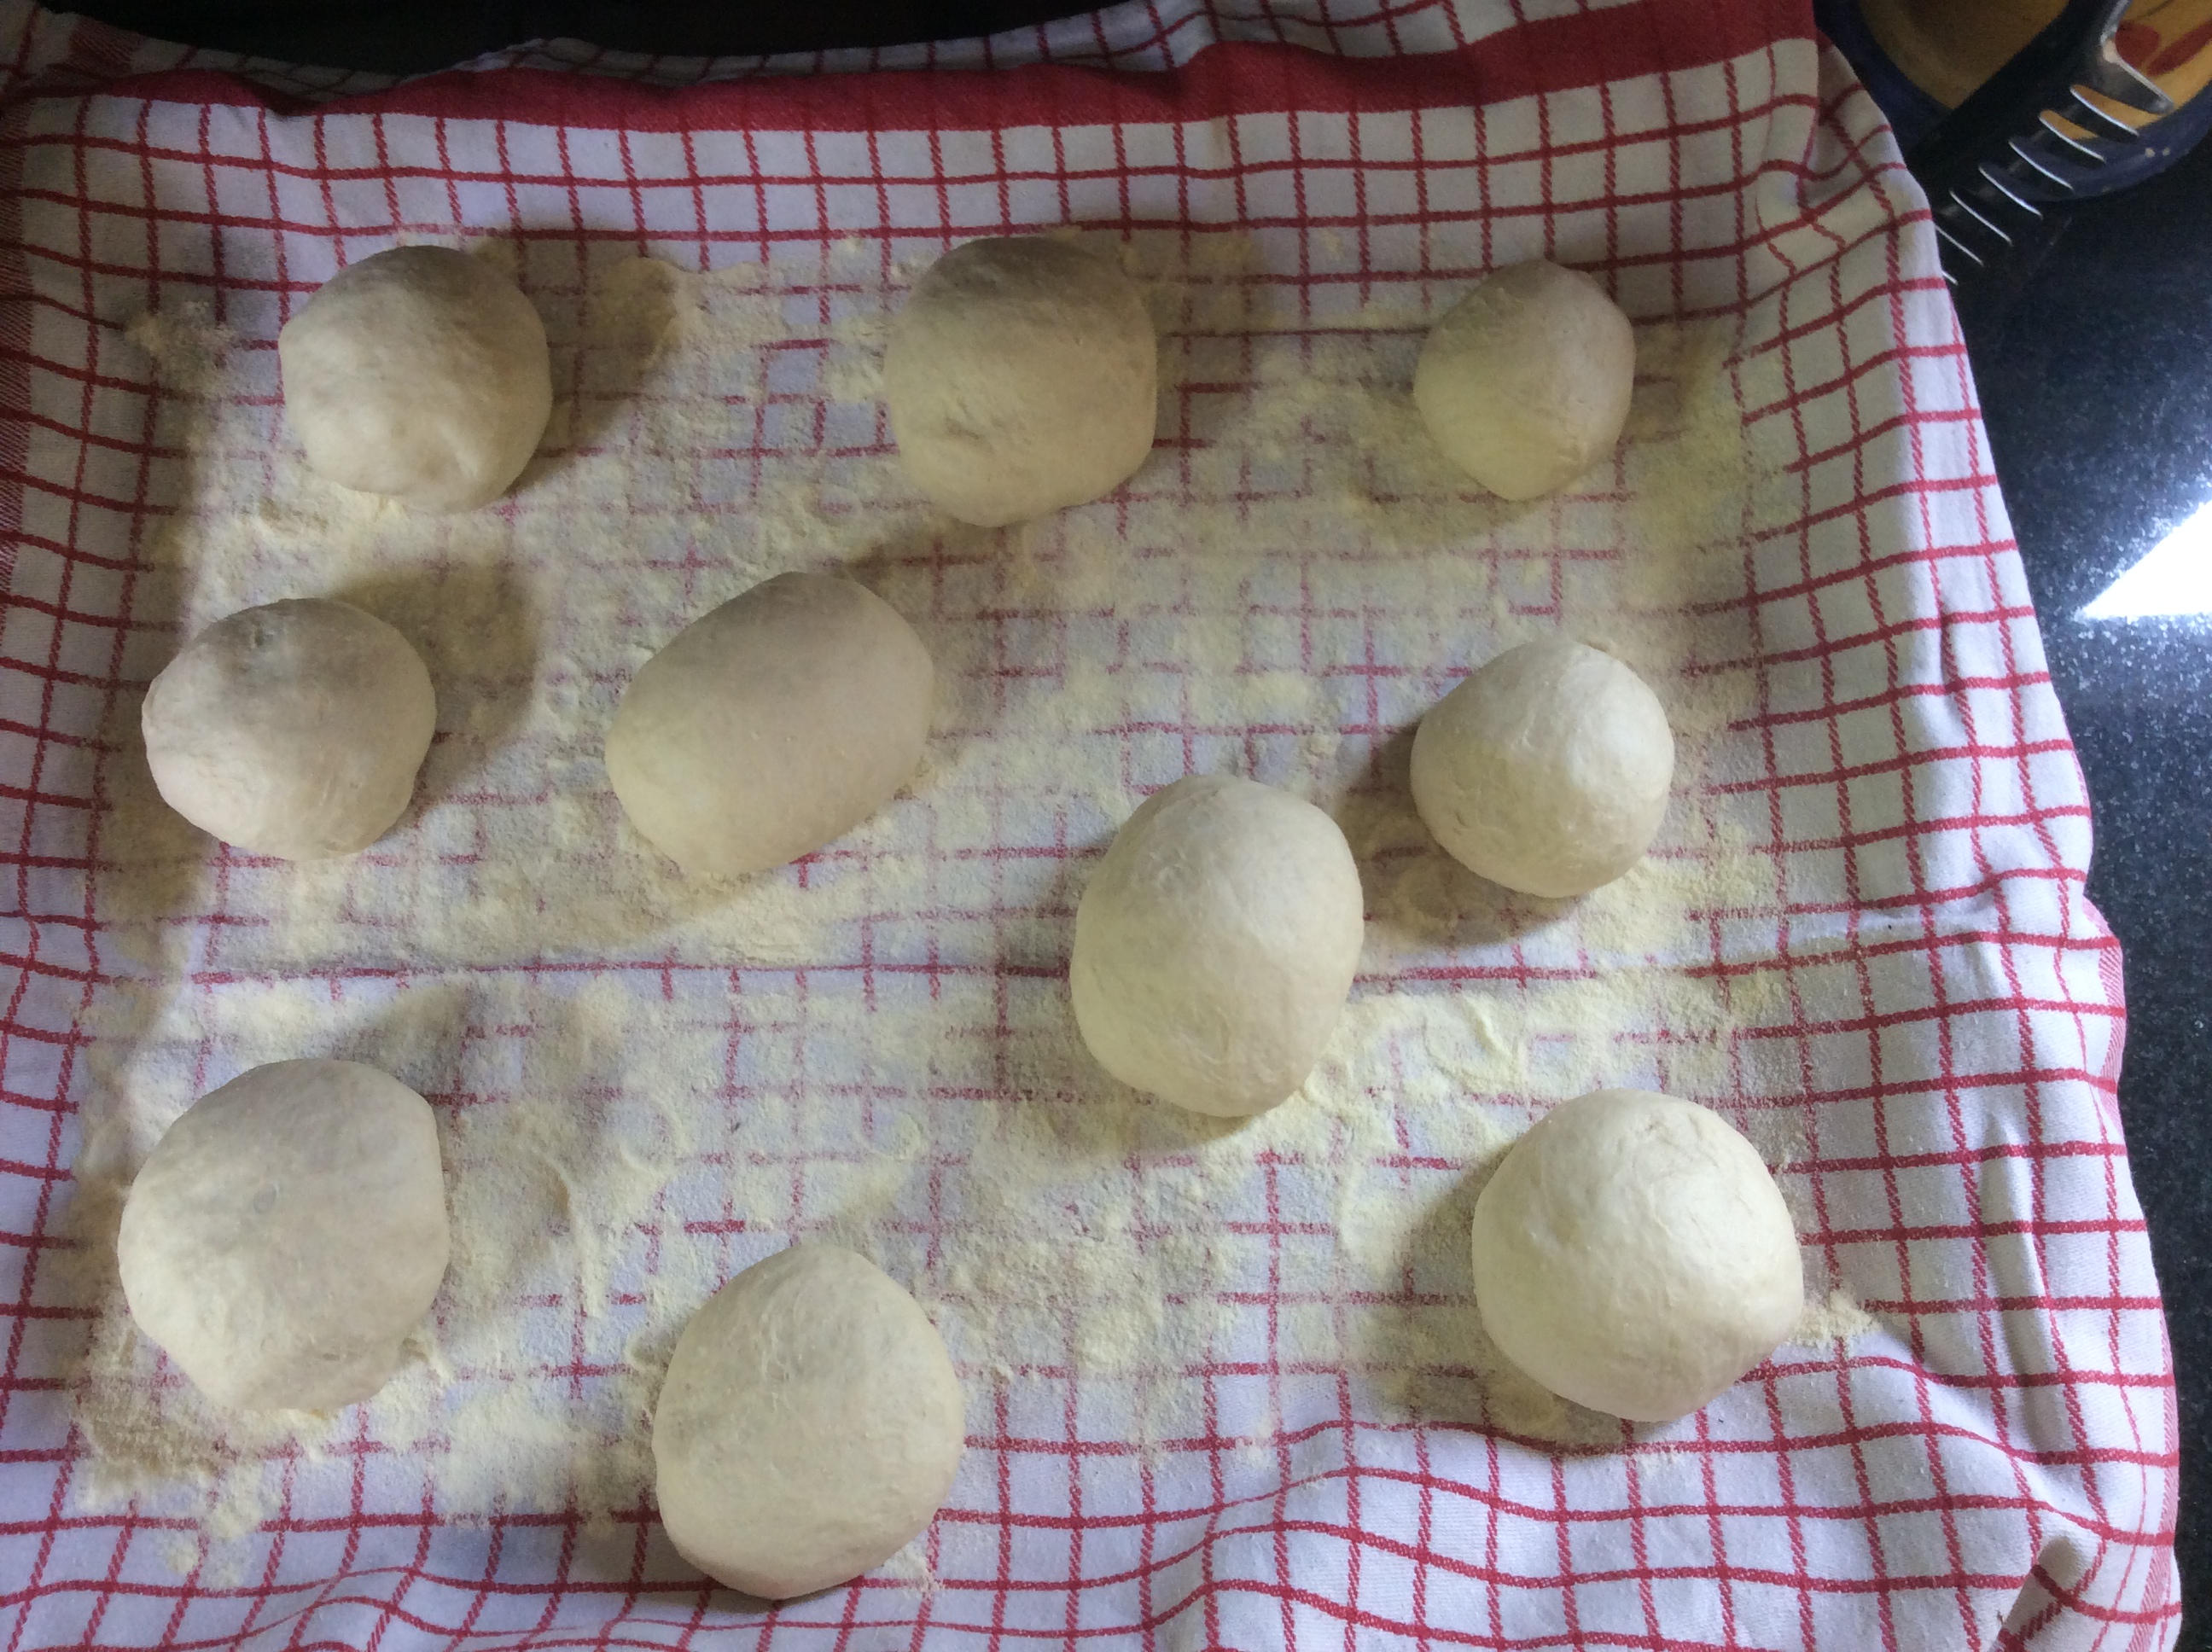
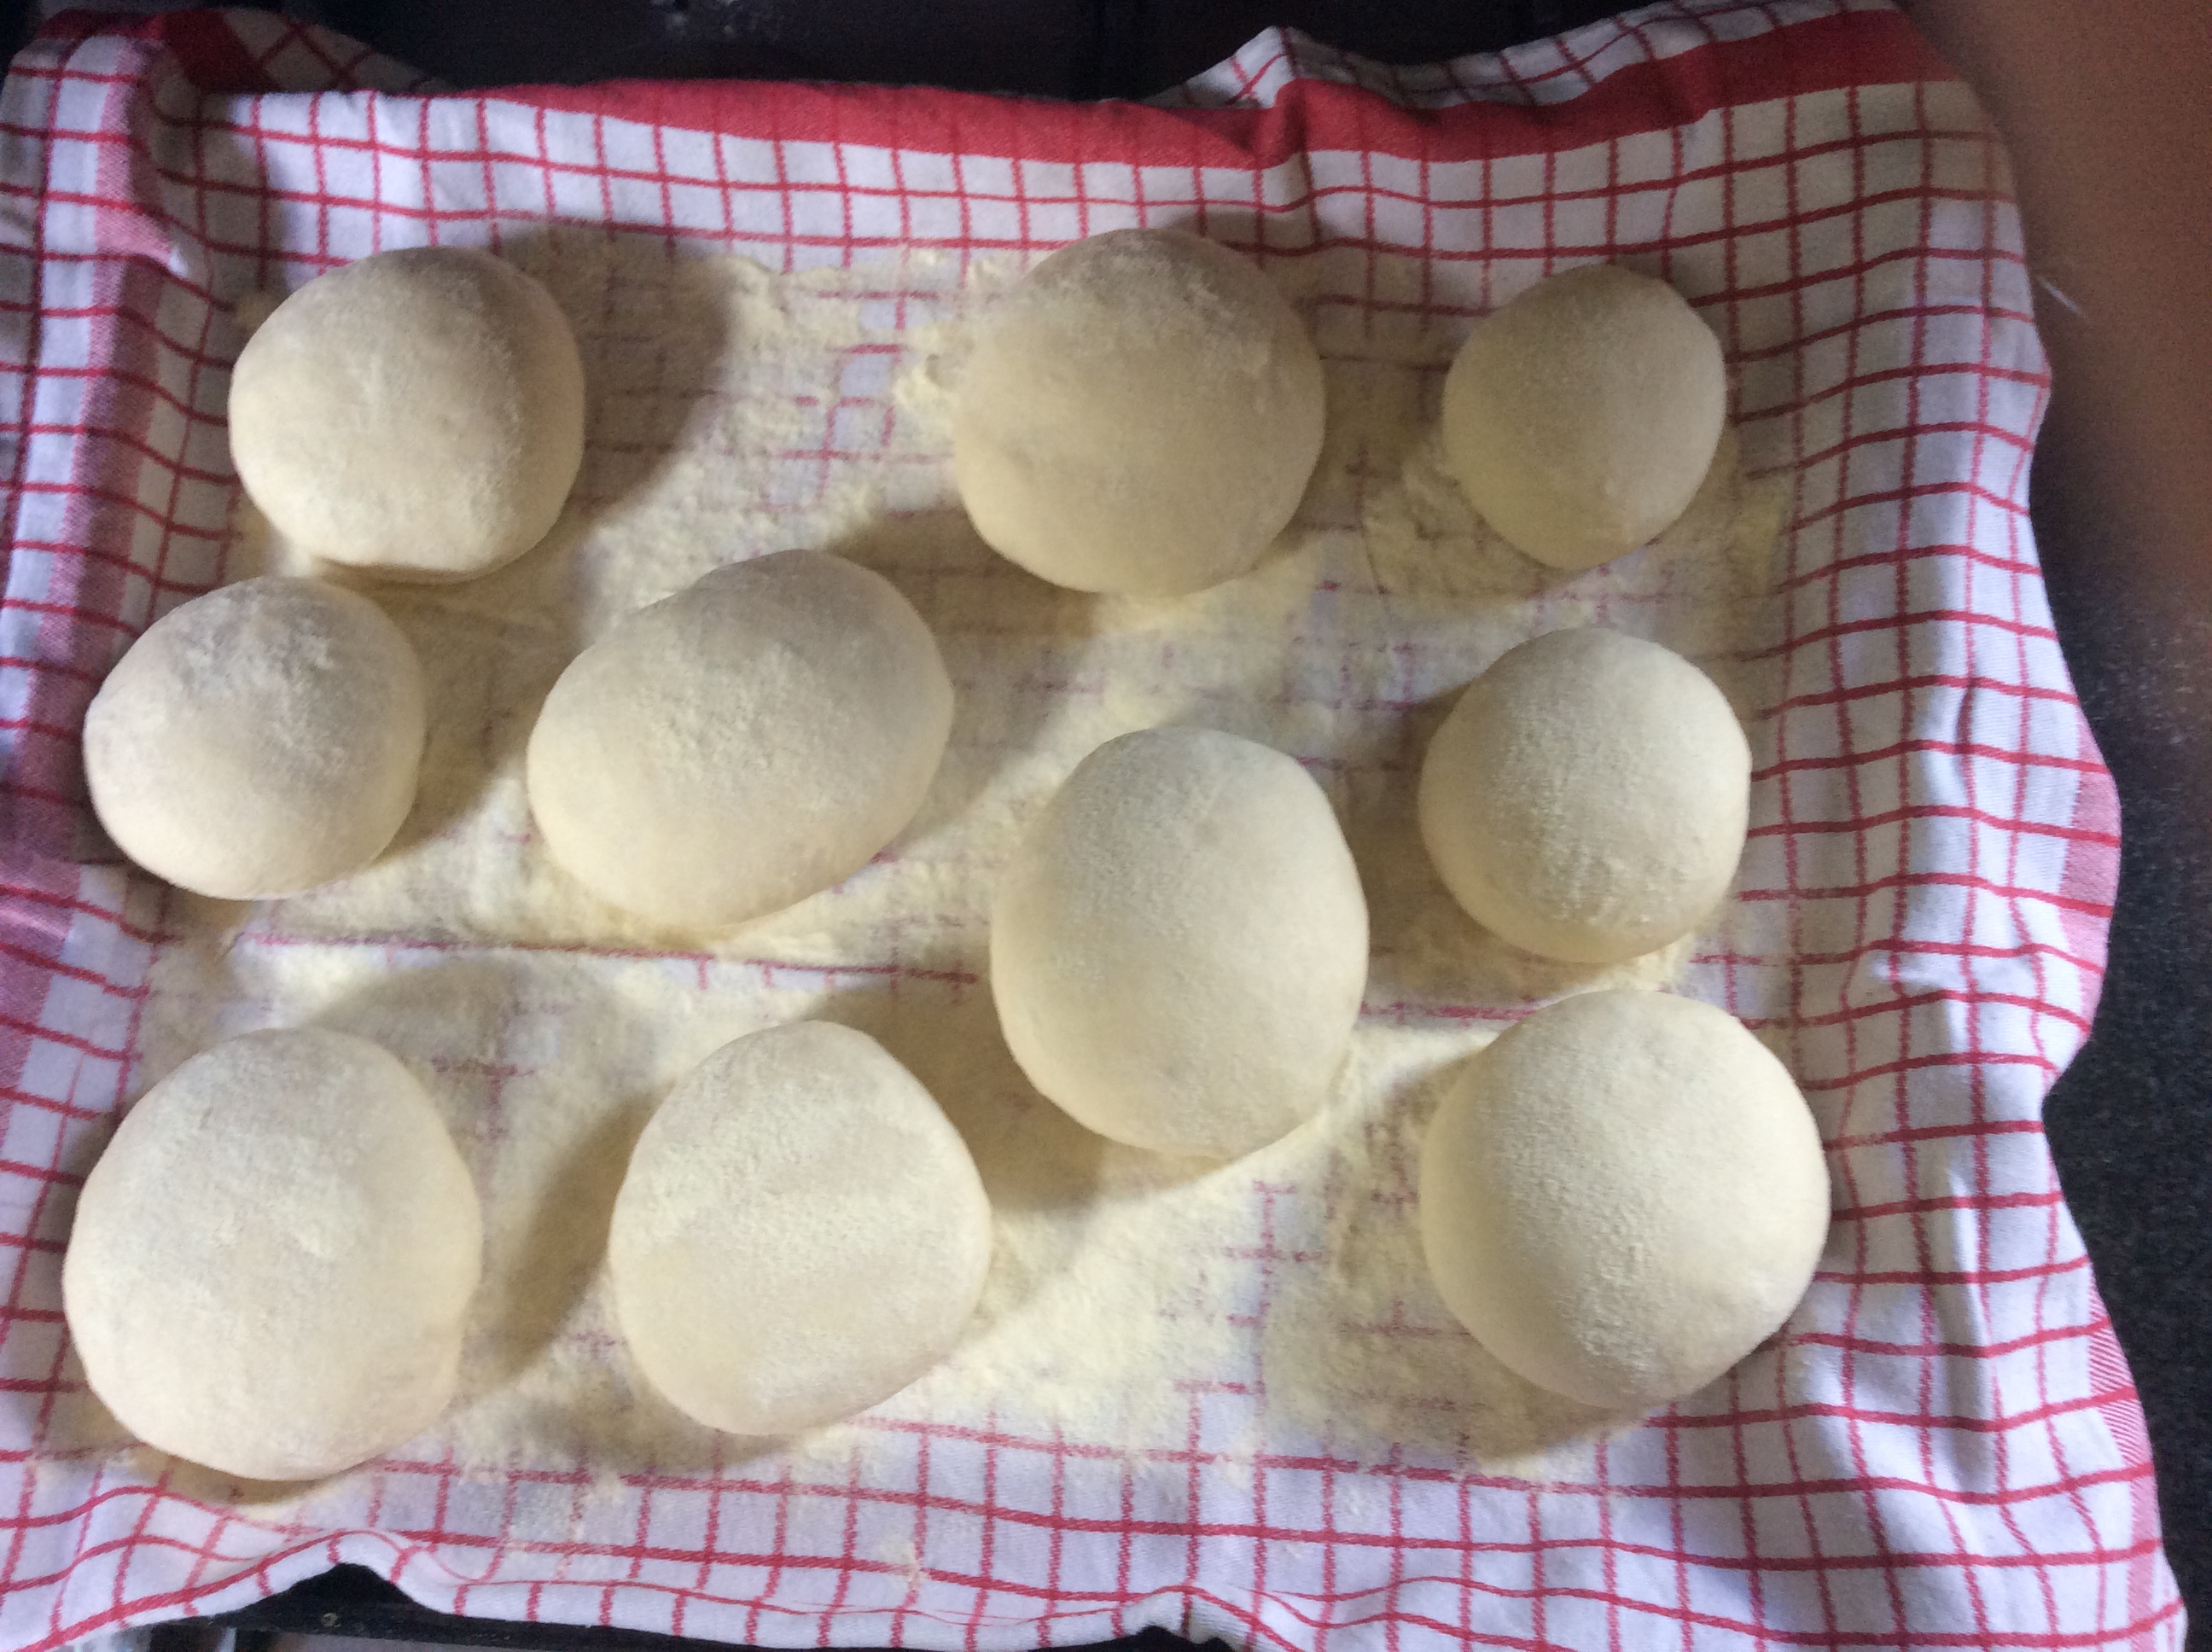
These will then need to prove for another 30 minutes until risen. See the difference above and below.
As no one probably has a pan that comfortably fits all muffins, cook it in batches. One side for about 10 minutes, until the bottom is golden and the sides are slightly puffed up. The other side needs only 4 minutes.
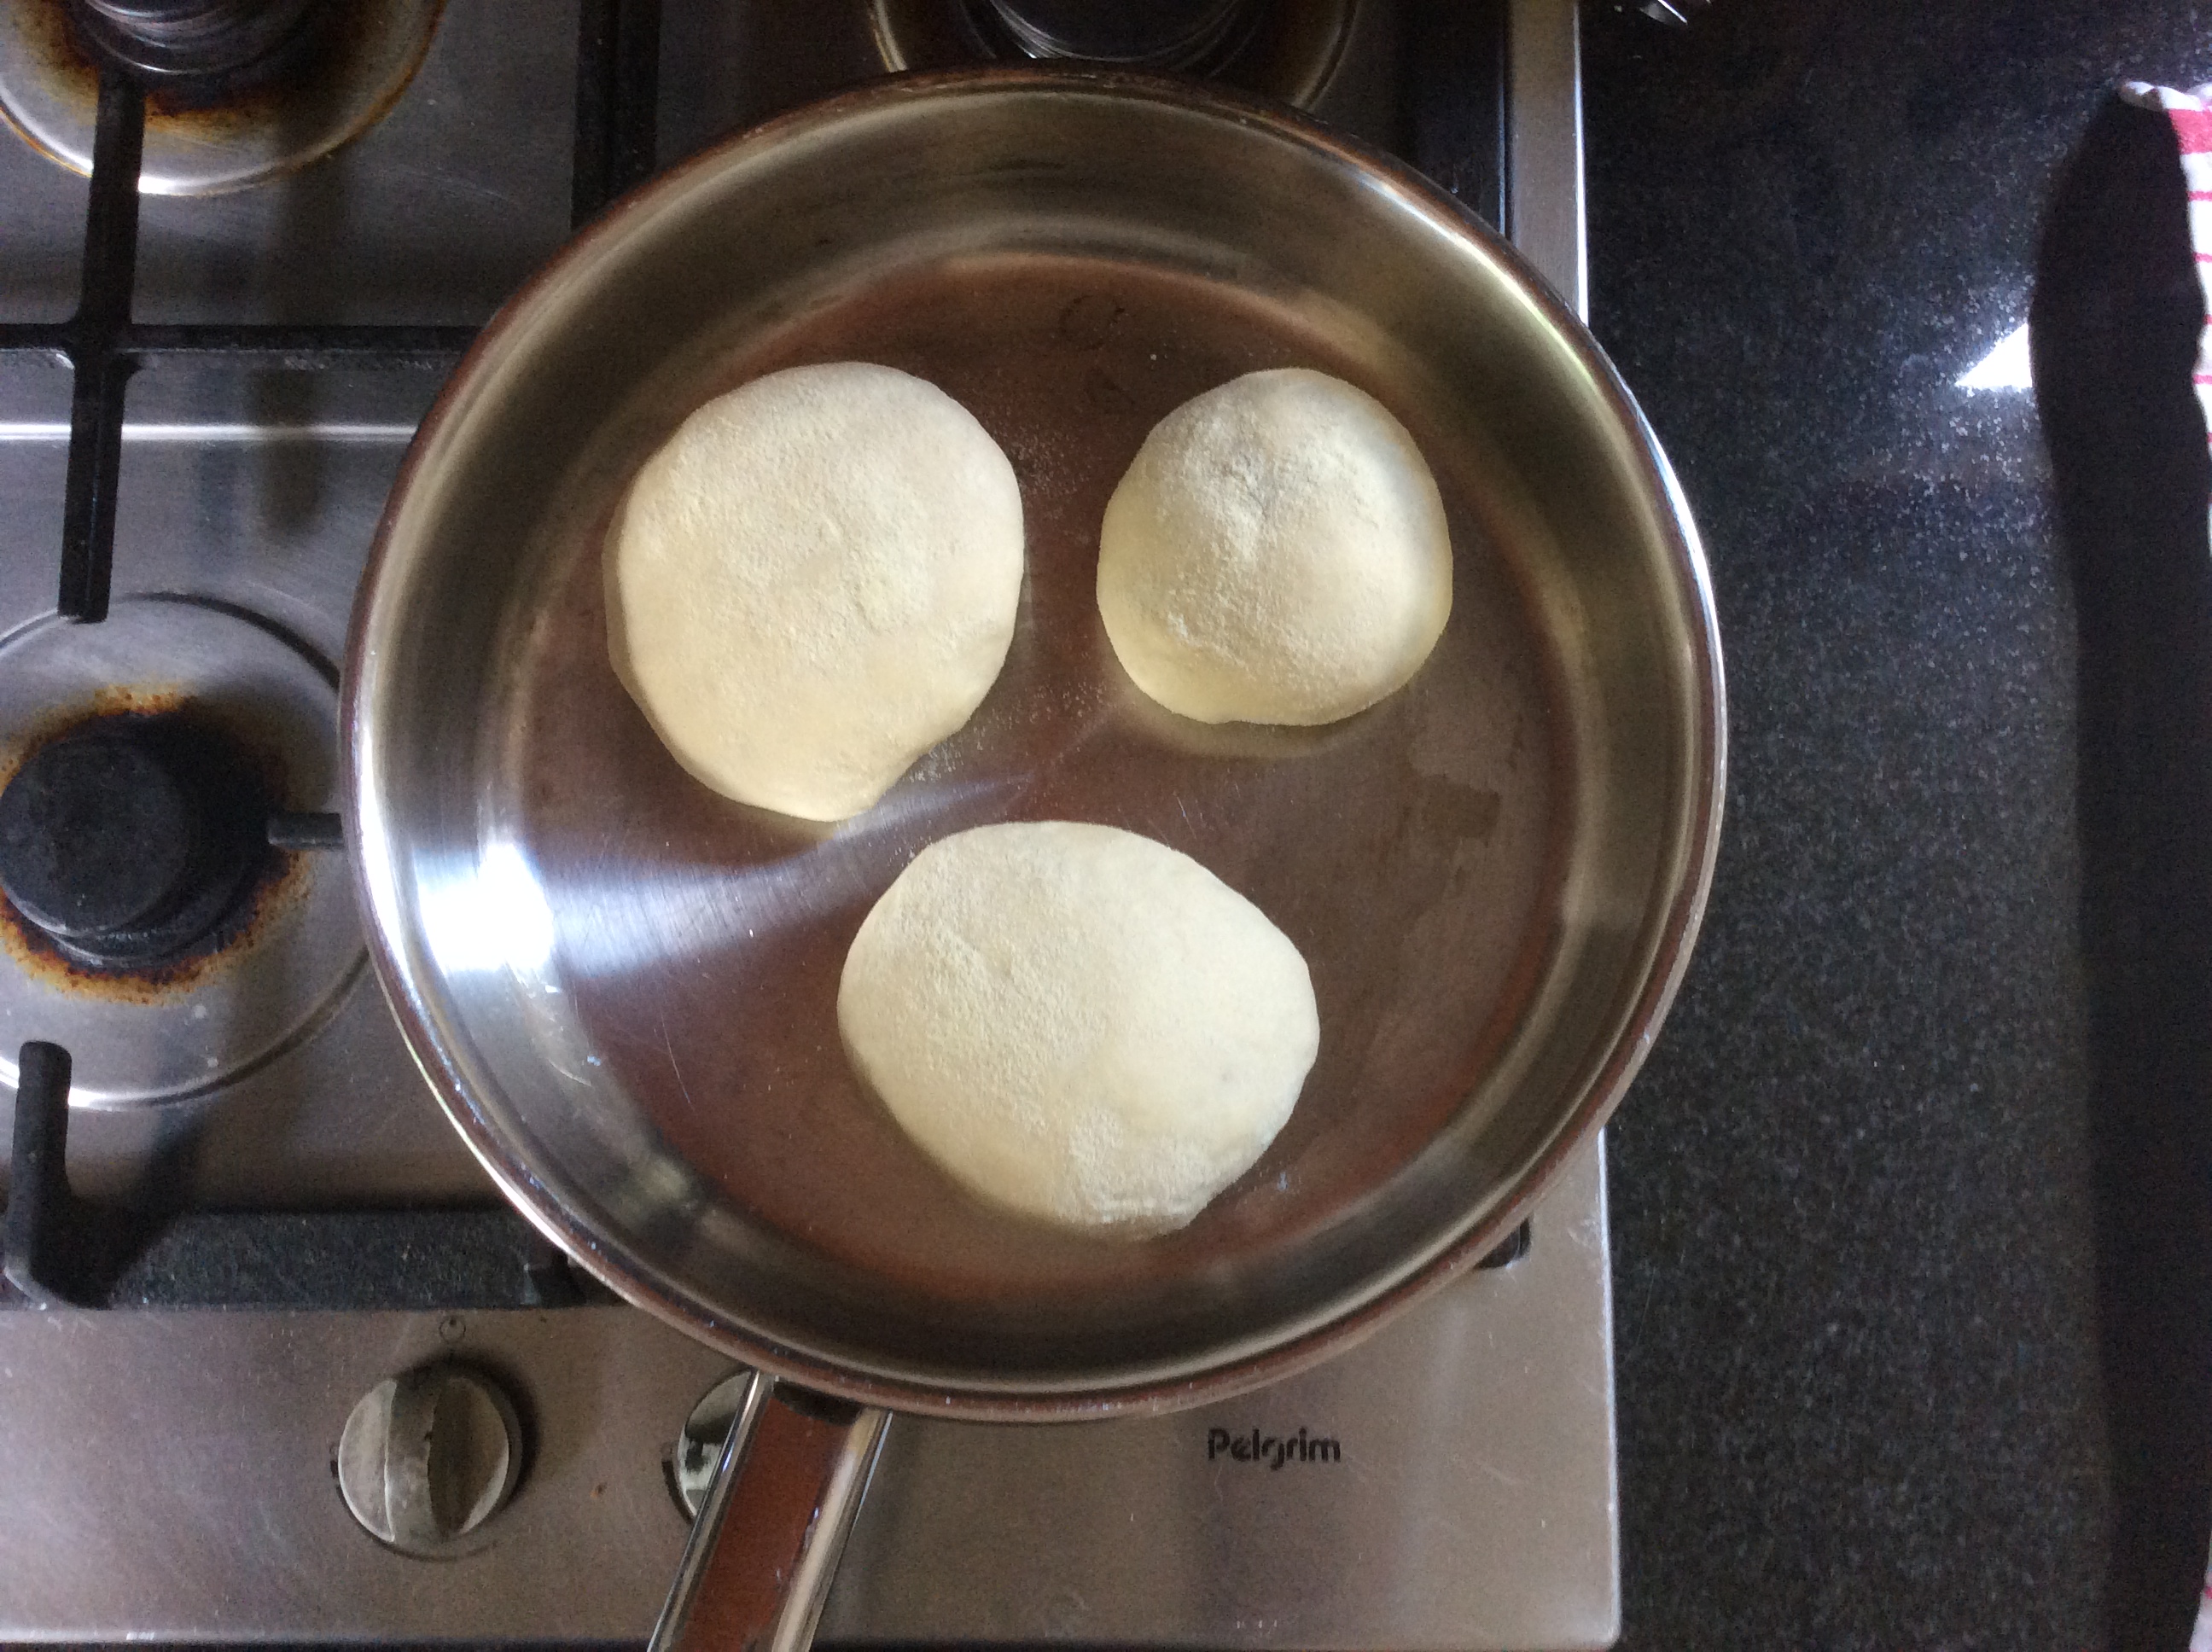
There is no need for oil or butter in the pan, only a lid to cook the top at the same time as the bottom. Just make sure to remove any excess semolina, cause that will burn easily.

Let them cool on a wire rack before slicing them, otherwise the dough won’t cool evenly and you get lumps. Don’t want that.
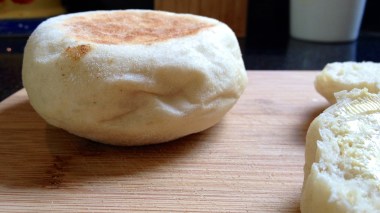
Waah, so pretty!! As you can see, the top and bottom are flat and golden, but the sides are soft and pushy. So. Good.
Ingredients Used kitchen appliances Preparation English Muffins
Share this:


Now im hungry for this 🙂
LikeLike
I know the feeling! 😉
LikeLike